Installing hardwood floors is a fantastic way to upgrade your home’s appearance and increase its value. However, the process can be tricky if you’re unfamiliar with the necessary steps. In this guide, we’ll break down how to install hardwood floors, ensuring a smooth process from start to finish.
Step-by-Step Guide to Installing Hardwood Floors
Before installation, it’s crucial to gather all the necessary materials, including hardwood planks, underlayment, nails or glue, and tools such as a saw and flooring nailer. Begin by preparing the subfloor, ensuring it’s dry, level, and clean. Lay down an underlayment to act as a moisture barrier and protect your hardwood from potential damage.
Laying the Hardwood
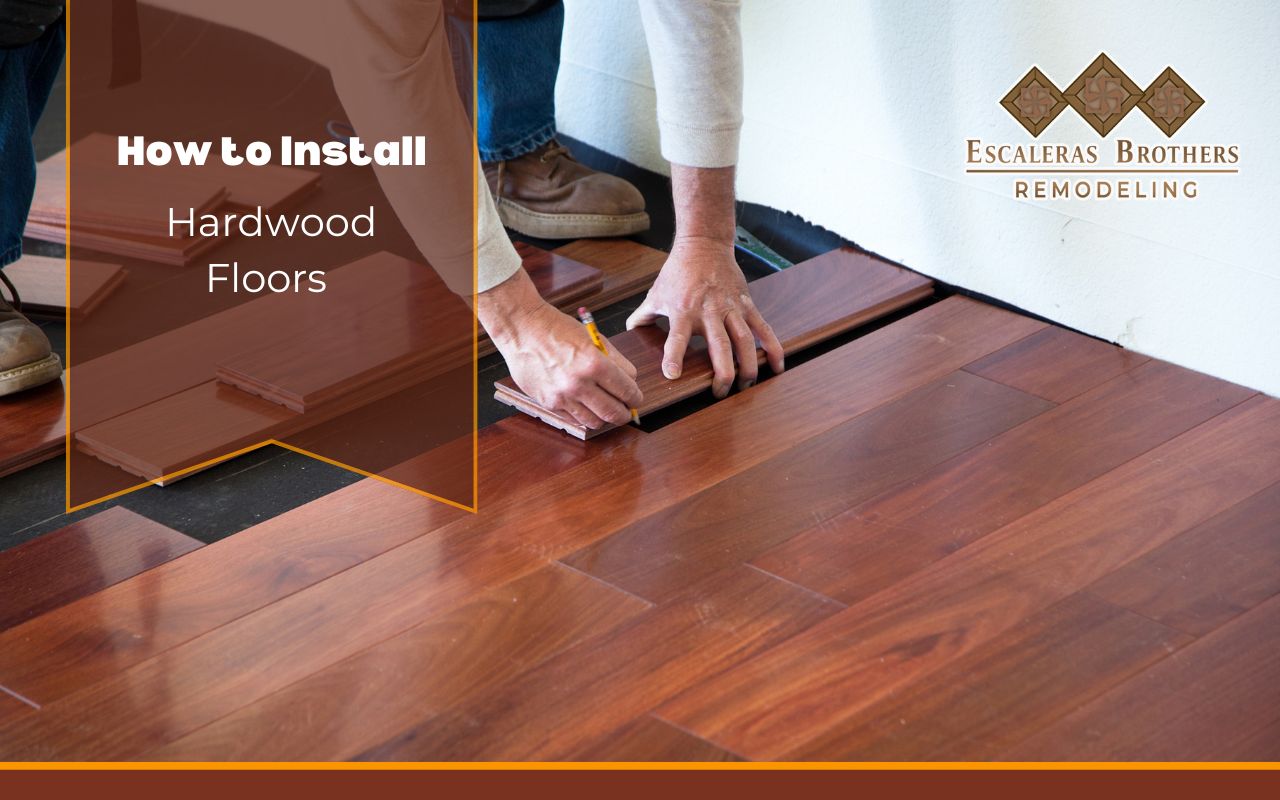
Start by measuring the room and cutting the planks to fit. Lay the first row along the longest wall, ensuring a snug fit, and use spacers to maintain an expansion gap along the edges. Secure each plank using nails or adhesive, depending on your installation method, and continue laying the planks row by row, staggering the seams for a natural look.
Final Touches
Once the floor is fully installed, remove the spacers and install baseboards or moldings to cover the expansion gap. Clean the floor and apply any protective finishes or coatings to ensure the longevity of your new hardwood floors.
Conclusion
By following these steps on how to install hardwood floors, you can achieve a professional-looking result, whether you’re tackling the project yourself or working with a contractor. A proper installation ensures a beautiful, long-lasting floor that enhances your home’s aesthetic and functionality.

