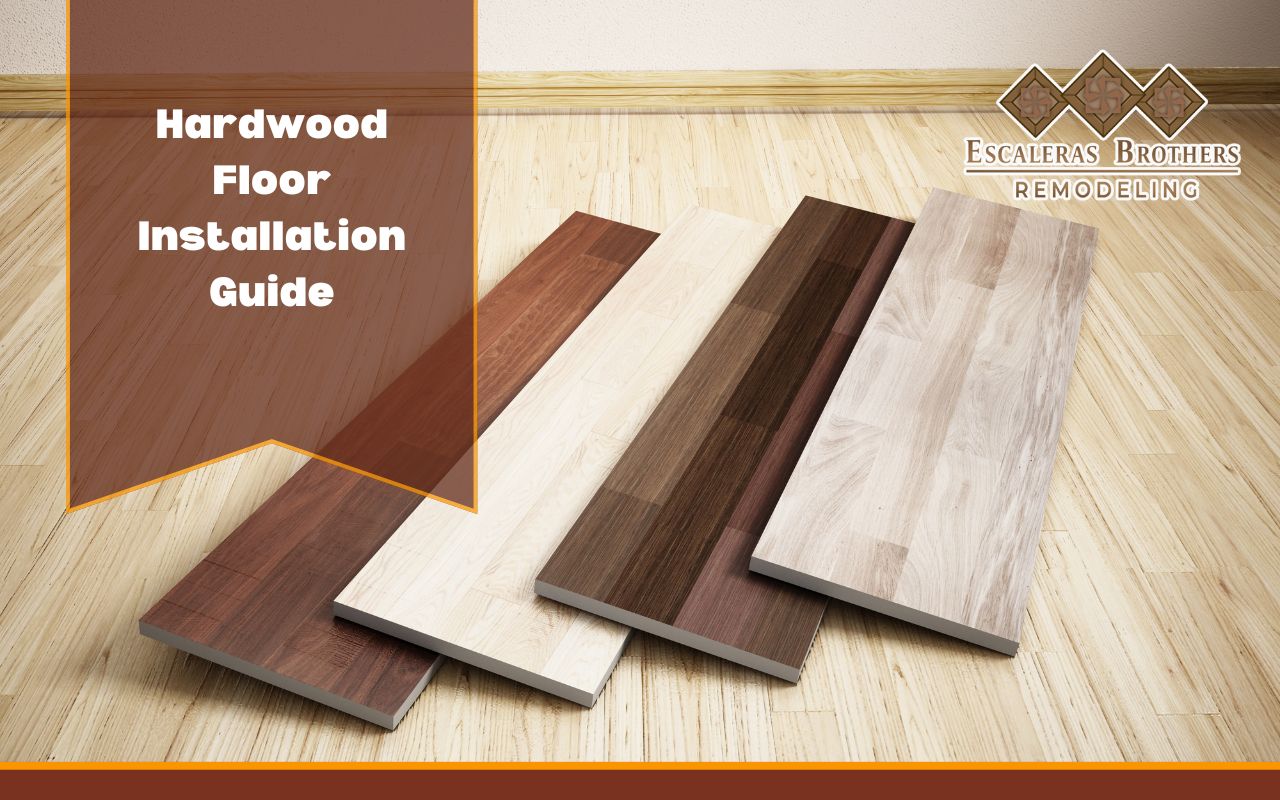
Installing hardwood floors can transform your living space, adding both beauty and value to your home. However, a successful installation requires careful planning and attention to detail. In this hardwood floor installation guide, we’ll walk you through every step, from preparation to the final touches, ensuring your new floors are installed like a professional.
Step 1: Preparing the Subfloor
Before you begin the installation, it’s essential to prepare the subfloor. A clean, dry, and level subfloor is critical for a stable hardwood floor. First, check for any moisture using a moisture meter. Uneven areas can be smoothed out with a leveling compound, ensuring a flat surface for the hardwood to sit on.
Step 2: Choosing the Right Hardwood
Selecting the right type of hardwood is crucial for both aesthetics and durability. Oak, maple, and cherry are popular choices, each offering different colors and grain patterns. Make sure the wood you choose is suitable for your home’s environment, considering factors like humidity and foot traffic.
Step 3: Acclimating the Wood
Before installation, let the hardwood planks acclimate to the room for at least 48 hours. This allows the wood to adjust to the room’s humidity and temperature, preventing future issues like warping or gaps. Spread the planks across the floor of the room where they’ll be installed, allowing air to circulate around them.
Step 4: Laying the Hardwood
Start by laying the first row of planks along the longest wall, ensuring they are straight and snug. Use spacers to leave an expansion gap around the edges of the room to allow for the wood’s natural expansion and contraction. Secure the planks using nails, staples, or adhesive, depending on the type of hardwood and installation method.
Step 5: Cutting and Fitting the Planks
Measure the remaining space carefully, and cut the last planks to fit with a saw. Stagger the seams between rows to create a natural look, ensuring no two seams align from one row to the next. This adds stability and visual appeal to the floor.
Step 6: Finishing Touches
Once all the planks are laid, remove the spacers and install baseboards or quarter rounds to cover the expansion gaps. Finally, clean the floor to remove any dust or debris left from the installation. You may also choose to apply a finishing coat to enhance the floor’s durability and shine.
Conclusion
By following this hardwood floor installation guide, you can ensure a professional, long-lasting result that enhances your home’s beauty and value. From preparing the subfloor to applying the finishing touches, each step is crucial for a successful installation. Whether you’re tackling the project yourself or working with a contractor, this guide provides all the information you need for a flawless hardwood floor installation.

