The right hardwood floor installation tools are essential for a smooth and professional finish. Whether you’re installing the floors yourself or working with a contractor, using the proper tools can make the difference between a flawless result and a job full of errors. In this guide, we’ll go over the must-have tools for a successful hardwood floor installation.
Essential Tools for Hardwood Floor Installation
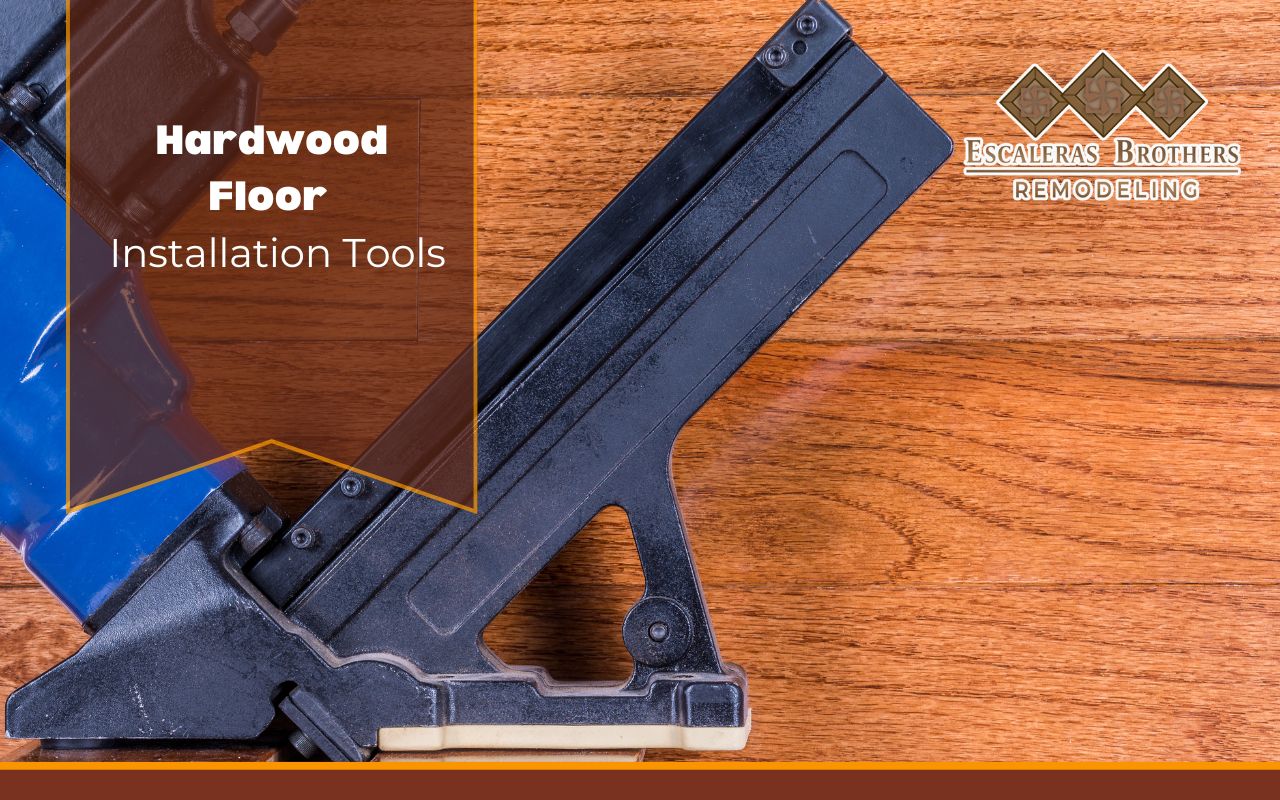
The installation process requires a variety of tools, starting with a reliable saw for cutting the planks to size. A table saw or miter saw works best for clean and precise cuts. Additionally, a pneumatic flooring nailer is a must for securing the planks in place, providing both speed and accuracy.
Tools for Preparing the Subfloor
Before laying down hardwood, it’s crucial to ensure the subfloor is in perfect condition. For this, you’ll need a moisture meter to check for any potential issues with dampness, which can warp the wood. A leveling compound and trowel are also useful for smoothing out any uneven areas, ensuring a stable foundation for the hardwood.
Finishing Tools for a Professional Look
Once the floor is installed, it’s important to use finishing tools such as a floor sander and buffer to achieve a smooth, polished surface. Additionally, installing baseboards or trim requires a finishing nailer and caulking gun to cover the expansion gap and provide a clean, professional appearance.
Conclusion
Having the right hardwood floor installation tools is key to ensuring a successful project. From saws and nailers to moisture meters and sanders, each tool plays a vital role in achieving a flawless finish. With the proper equipment, you can complete your hardwood installation with confidence.

